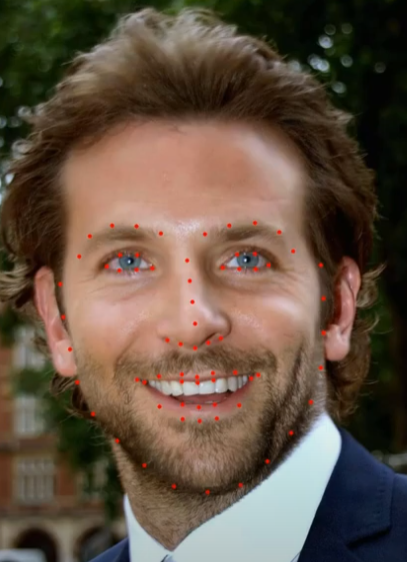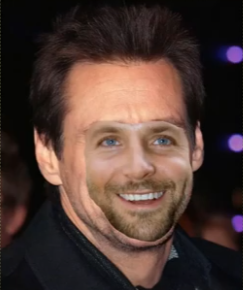
두 배우의 얼굴 사진이 있습니다.
얼굴 wrapping은 세단계로 구분됩니다.
1. 얼굴 특징에서 포인트를 추출합니다.
2. 얼굴 랜드마크를 통해서 위부경계를 만듭니다
3. 랜드마크와 타겟 얼굴 특징(피부색,크기,회전)을 맞춰줍니다.


아래 코드는 두단계를 구현한겁니다.
- 얼굴의 외부 경계 가져오기
- 이미지에서 얼굴 추출
얼굴 특징 포인트 추출을 위한 데이터
https://drive.google.com/file/d/1OQBLy3LlQN_oABy0SsEcaTU3TcWbvqlY/view?usp=sharing
shape_predictor_68_face_landmarks.dat
drive.google.com
라이브러리 import해주고 이미지를 로드하고 그레이스케일 형식으로 변환하고 마스크(원본 이미지와 동일한 크기의 검은색 이미지)를 만듭니다.
import cv2
import numpy as np
import dlib
img = cv2.imread("bradley_cooper.jpg")
img_gray = cv2.cvtColor(img, cv2.COLOR_BGR2GRAY)
mask = np.zeros_like(img_gray)
이 시점 에서 얼굴과 얼굴의 랜드마크를 감지하여 얼굴 의 외부 경계를 찾을 수 있습니다.
detector = dlib.get_frontal_face_detector()
predictor = dlib.shape_predictor("shape_predictor_68_face_landmarks.dat")
faces = detector(img_gray)
for face in faces:
    landmarks = predictor(img_gray, face)
    landmarks_points = []
    for n in range(0, 68):
        x = landmarks.part(n).x
        y = landmarks.part(n).y
        landmarks_points.append((x, y))

        #cv2.circle(img, (x, y), 3, (0, 0, 255), -1)
우리 는 얼굴 주변의 경계 를 찾습니다 .
이렇게 하려면 얼굴 랜드마크의 볼록 껍질을 찾아야 합니다.
    points = np.array(landmarks_points, np.int32)
    convexhull = cv2.convexHull(points)
    #cv2.polylines(img, [convexhull], True, (255, 0, 0), 3)
    cv2.fillConvexPoly(mask, convexhull, 255)
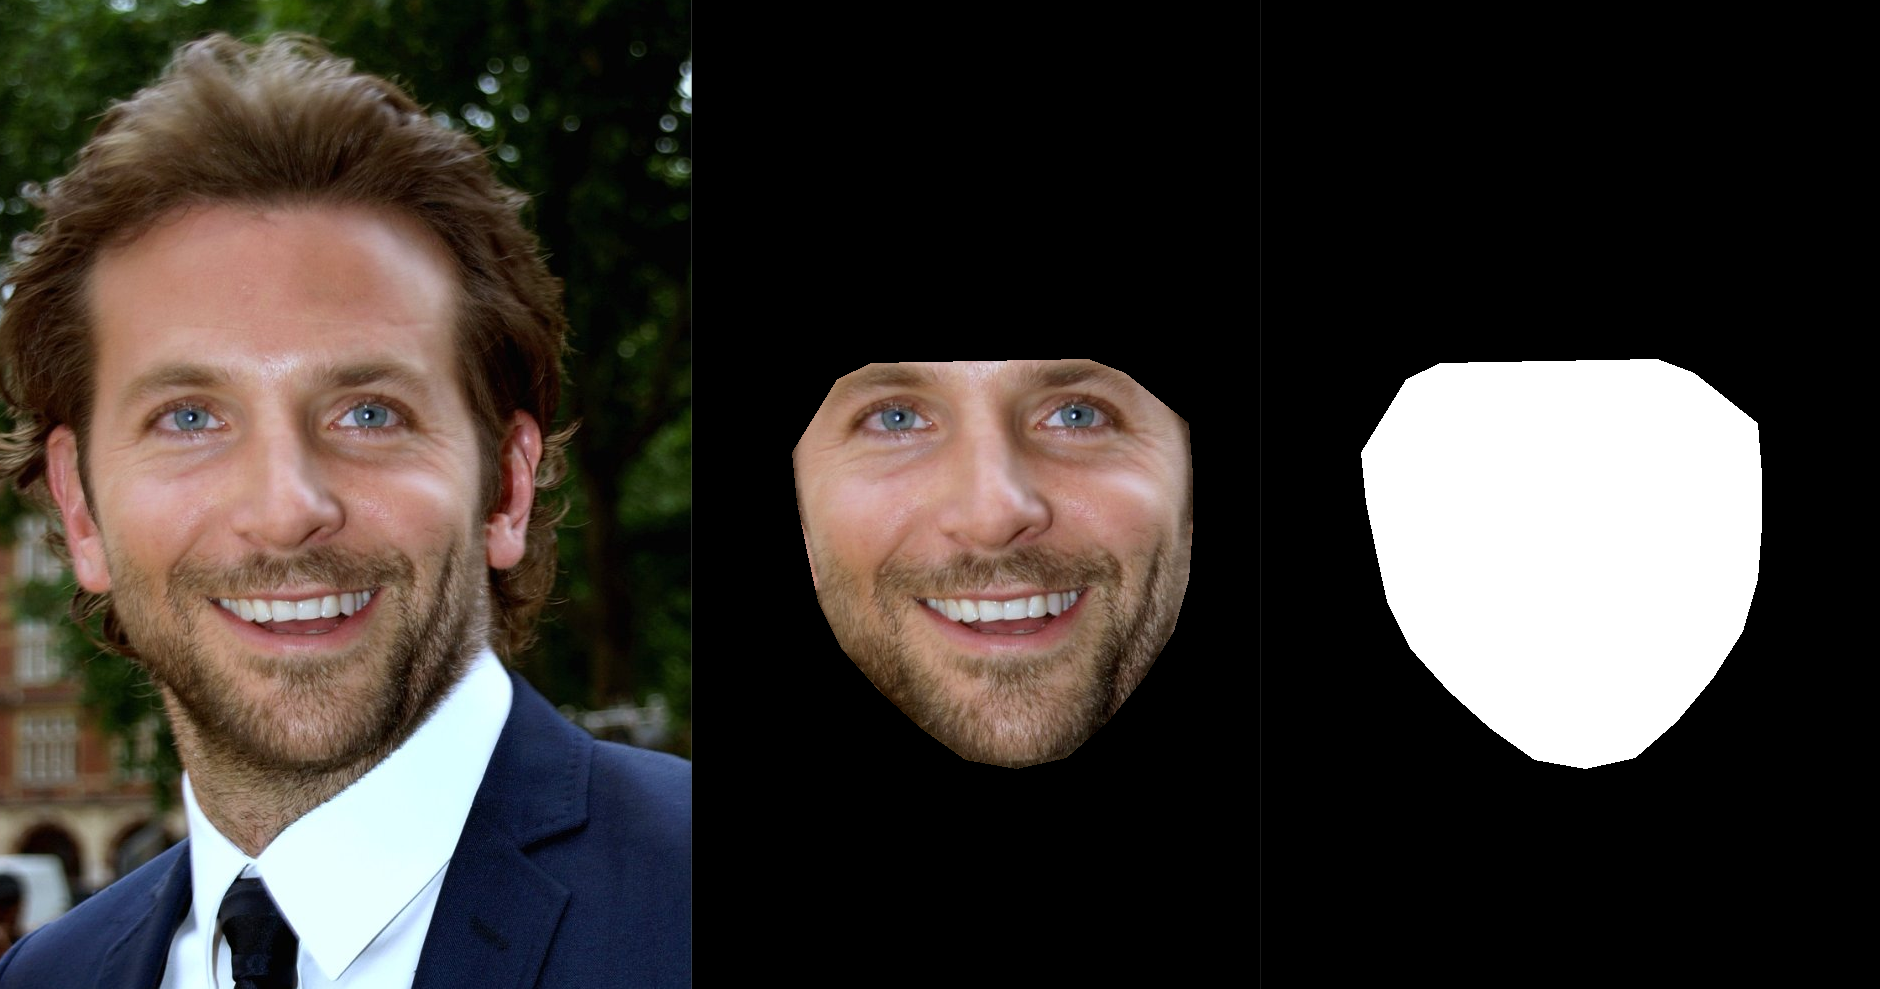
볼록 껍질(얼굴 영역을 덮음)을 찾아 마스크에 적용한 후 원본 이미지에 마스크를 적용하여 얼굴을 추출하고 모든 것을 화면에 표시할 수 있습니다.
    face_image_1 = cv2.bitwise_and(img, img, mask=mask)

cv2.imshow("Image 1", img)
cv2.imshow("Face image 1", face_image_1)
cv2.imshow("Mask", mask)
cv2.waitKey(0)
cv2.destroyAllWindows()
다음 part2에서 계속하겠습니다.
https://data-science.tistory.com/145
Face swapping-Delaunay Triangulation(part 2) 들로네 삼각분할
추출한 얼굴을 타겟 얼굴에 매칭시켜주기 위해 들로네 삼각분할을 합니다. Delaunay(들로네) Triangulation(삼각분할)은 "어떤 삼각형의 외접원도 그 삼각형의 세 꼭지점을 제외한 다른 어떤 점도 포함
data-science.tistory.com
'영상처리 > 기초' 카테고리의 다른 글
| Face swapping-Matching the two faces triangulation(part 3) (0) | 2023.01.06 |
|---|---|
| Face swapping-Delaunay Triangulation(part 2) 들로네 삼각분할 (19) | 2023.01.05 |
| haar cascade face detection 얼굴 검출 (12) | 2023.01.05 |
| YOLO 객체 검출 알고리즘 (17) | 2023.01.04 |
| cv2.error: OpenCV(4.7.0) D:\a\opencv-python\opencv-python\ (5) | 2023.01.03 |